Summer afternoons remind me of childhood dreams for the perfect creamy dessert. Chocolate and peanut butter together are my comfort food. They turn simple moments into special memories.
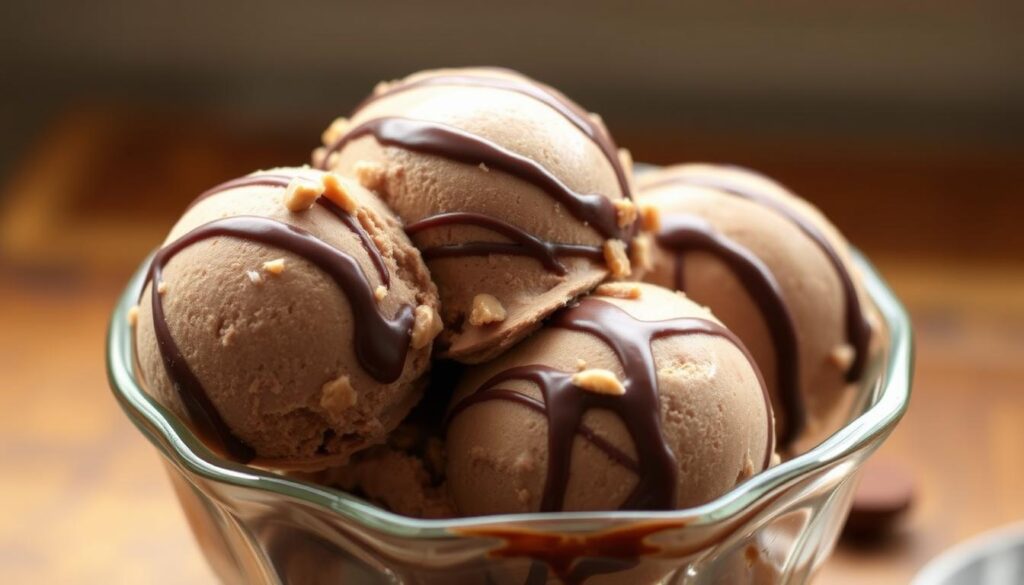
Imagine making a luxurious chocolate peanut butter ice cream at home easily. This no-churn treat makes gourmet ice cream possible for everyone. You’ll see how simple ingredients make a smooth, decadent ice cream that’s as good as store-bought.
No need for expensive ice cream makers or hard techniques. With basic ingredients and a little effort, you can make a creamy dessert that wows everyone. This recipe offers a delicious mix of chocolate and peanut butter.
Whether you love desserts or are new to cooking, this no-churn ice cream is perfect. It’s easy to make and full of flavor. Turn your home into a gourmet ice cream shop with just a bit of work.
Why This No-Churn Ice Cream Recipe Will Become Your Favorite

Making a delicious dessert at home is now more fun than ever. This chocolate peanut butter ice cream recipe turns your kitchen into a gourmet paradise with little effort. You’ll be surprised at how simple ingredients can make a treat that’s as good as store-bought.
So, what’s so special about this recipe? Let’s explore the reasons:
- No need for fancy equipment – no ice cream makers needed
- It’s quick to make, ready in under 15 minutes
- The nutty flavor is rich and satisfying
- The mix of chocolate and peanut butter is perfect
The secret to its smooth, creamy texture is in the simple mixing. Your treat will be so good, everyone will want more. The chocolate and peanut butter mix is loved by both kids and adults.
Pro tip: Try different chocolates and peanut butters to find your favorite mix!
This recipe is all about having fun and being creative. Whether you’re new to baking or have lots of experience, you’ll enjoy making it. You can make each batch your own, turning every batch into a new adventure.
Essential Ingredients for Perfect Chocolate Peanut Butter Ice Cream
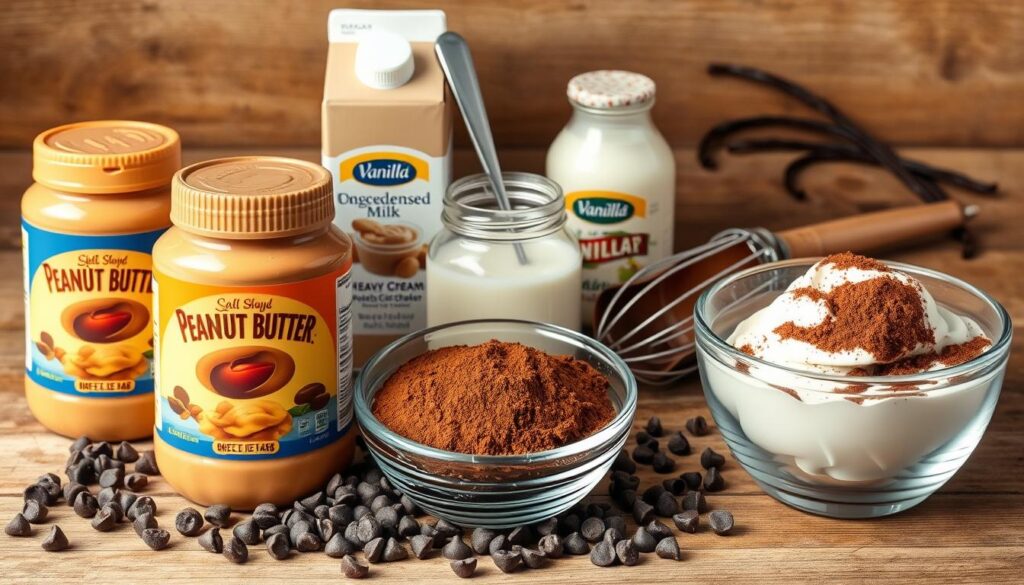
Making homemade chocolate peanut butter ice cream is all about the ingredients. You need to pick the best ones to make it creamy and delicious. It should taste as good as any ice cream from a shop.
Selecting Quality Peanut Butter
Peanut butter is key in this recipe. The right one can make your ice cream smooth and tasty. Here’s what to look for:
- Go for creamy, processed peanut butter for a smooth feel
- Stay away from natural peanut butter, as it can get grainy when frozen
- Choose full-fat peanut butter for a richer taste
Chocolate Components Matter
Choosing the right chocolate is important too:
| Ingredient | Recommended Type | Why It Works |
|---|---|---|
| Cocoa Powder | Unsweetened, high-quality | It gives a deep chocolate taste without too much sugar |
| Chocolate | Dark or semi-sweet | It adds a complex and rich flavor to the base |
Dairy Element Essentials
Choosing the right dairy is key for a silky smooth texture:
- Use 35% whipping cream (heavy cream)
- Full-fat sweetened condensed milk is best
- Avoid low-fat options, as they can ruin the texture

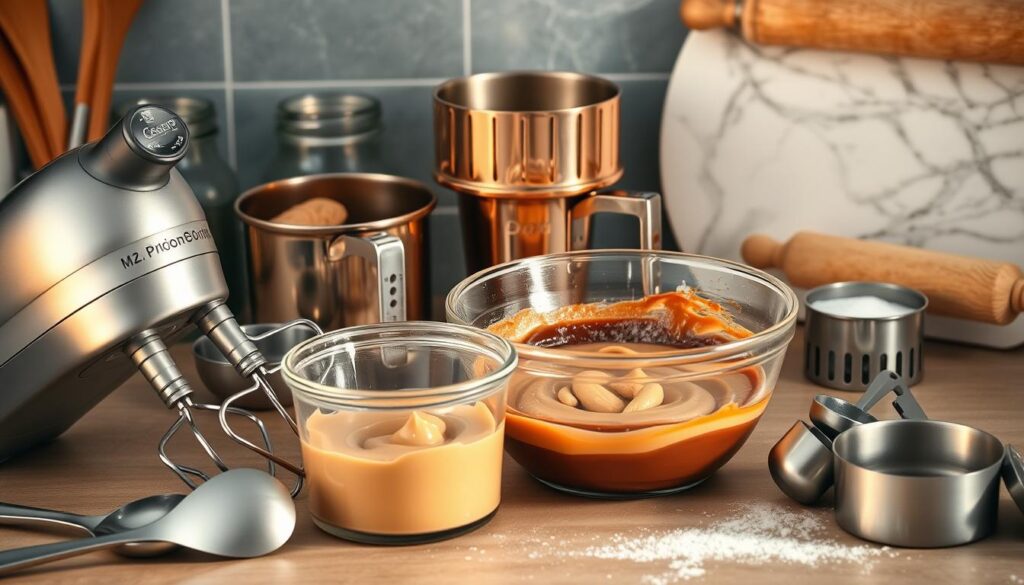
Kitchen Tools and Equipment Needed

Making homemade chocolate peanut butter ice cream is easy. You probably have all the tools you need in your kitchen.
To make your kitchen a place for ice cream, you’ll need a few things:
- Digital kitchen scale or measuring cups for precise ingredient portions
- Large mixing bowl for combining ingredients
- Hand or stand mixer to achieve a smooth, creamy dessert texture
- Rubber spatula for scraping and mixing
- Insulated container or standard loaf pan for freezing
You don’t need fancy equipment to make this recipe. Your basic tools will help you create a delicious frozen treat.
“Great ice cream is about passion, not perfection” – Anonymous Pastry Chef
If you’re missing a tool, don’t stress. You can use what you have. A whisk can be a substitute for an electric mixer, and a glass dish works for freezing.
- Electric mixer alternatives:
- Manual whisk
- Fork for smaller batches
- Freezing container options:
- Glass baking dish
- Metal loaf pan
- Plastic food storage container
With these simple tools, you’re all set for your homemade ice cream journey!
Step-by-Step Mixing Process
Making chocolate peanut butter ice cream needs precision and care. It’s a confectionery delight that requires a careful approach. This ensures a smooth, creamy texture that will delight your taste buds.
Your no-churn ice cream journey starts with careful ingredient preparation and mixing techniques. Each step is key to developing the rich nutty flavor of this dessert.
Preparing the Chocolate Base
First, gather your key ingredients for the chocolate base:
- Heavy whipping cream
- Sweetened condensed milk
- Unsweetened cocoa powder
- Pinch of salt
In a large mixing bowl, combine these ingredients. Start mixing at low speed to avoid splatter. Then, increase to medium-high speed until it thickens and shows mixer tracks. Aim for a fluffy, rich chocolate base for your ice cream.
Creating Peanut Butter Ribbons
To add the signature nutty flavor, prepare your peanut butter ribbon:
- Mix creamy peanut butter with powdered sugar
- Stir until smooth and fully combined
- Set aside at room temperature
Combining the Layers
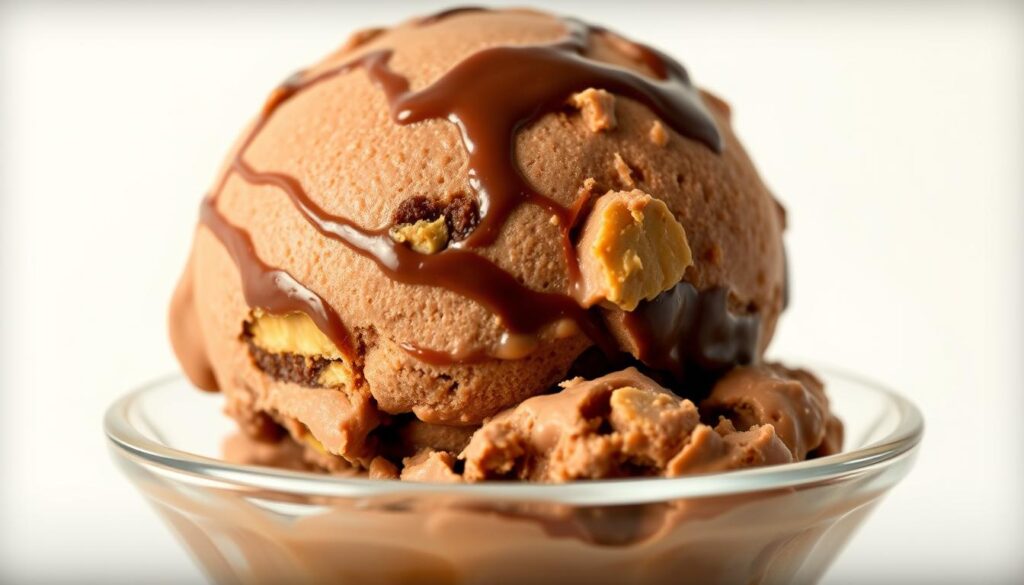
The final step is layering the components. Alternate spoonfuls of chocolate base and peanut butter mixture into your freezer-safe container. Use a knife to create gentle swirls for a beautiful marbled effect.
Pro tip: Avoid overmixing to keep distinct flavor ribbons in your ice cream.
Expert Tips for Creamy Texture
Making the perfect indulgent snack is more than just mixing. Your favorite summer treat needs expert techniques for that smooth, rich feel. It’s like getting it from a top ice cream parlor.
Texture is key in making homemade no-churn ice cream. It’s all about how ingredients work together. You want to avoid ice crystals and aim for creaminess.
- Melt chocolate slightly and let it cool before adding it to the base for extra richness
- Use a precise layering technique when adding peanut butter ribbons
- Tap the container gently on the counter to remove air pockets
Temperature is crucial for texture. Keep your ingredients cool but not too cold. Room temperature ingredients can ruin the smoothness you’re aiming for.
Pro tip: Small spoonfuls of peanut butter stretched over the chocolate base create better flavor pockets in every scoop.
When mixing, fold gently to add air without losing it. This makes your ice cream light and luxurious. It melts beautifully in your mouth.
- Fold ingredients carefully to maintain air bubbles
- Use a spatula for smooth, gentle mixing
- Avoid overmixing, which can flatten the texture
With these expert tips, your homemade ice cream can be as good as any gourmet dessert. Just remember, practice and patience are key. Your no-churn creation will soon be a creamy, delicious treat.
Creative Mix-In Options and Variations
Turn your chocolate peanut butter ice cream into a masterpiece with exciting mix-ins. Your homemade ice cream can be a canvas for creativity. You can add unique flavors and textures to each batch.
Candy Add-ins
- Crushed Reese’s Peanut Butter Cups
- Chopped Butterfinger bars
- Chocolate-covered pretzels
- M&M’s (peanut or plain)
Texture Enhancers
- Brownie chunks (½ to 1 cup)
- Chopped roasted salted peanuts
- Crumbled graham crackers
- Waffle cone pieces
Flavor Boosters
- Instant espresso powder (1-2 teaspoons)
- Pure vanilla extract
- Cinnamon
- Sea salt flakes
When adding mix-ins, gently fold them into your ice cream. This keeps it smooth. Start with a little and add more as you like. Each mix-in adds a special touch to this classic treat.
Storage and Serving Recommendations
Your homemade chocolate peanut butter creamy dessert needs careful storage. This keeps its nutty flavor and texture just right. You can enjoy this tasty frozen treat for weeks.
- Use an airtight container with a tight-fitting lid
- Cover the surface with plastic wrap before sealing
- Store in the coldest part of your freezer
Creating a barrier against freezer burn is key. Wrap your container carefully to keep the creamy texture and rich flavor.
| Storage Duration | Quality Preservation |
|---|---|
| 1-2 weeks | Optimal flavor and texture |
| 3-4 weeks | Slight texture change |
| 1-2 months | Best to consume |
“The secret to perfect homemade ice cream is not just in the making, but in the storing!” – Professional Pastry Chef
When serving, take the frozen treat out of the freezer. Let it sit at room temperature for 10-15 minutes. This makes scooping easier and brings back the creamy texture.
- Scoop with a warm ice cream scoop
- Garnish with additional peanut butter drizzle
- Pair with chocolate sauce or chopped nuts
Your chocolate peanut butter ice cream will stay a delightful treat. It keeps the perfect balance of flavors and textures.
Troubleshooting Common Issues
Making the perfect confectionery delight can be tricky. This guide will help you avoid common problems. You’ll learn how to make your indulgent snack smooth and creamy.
When making homemade ice cream, you might face some issues. Knowing these problems can help you make a perfect frozen treat every time.
Solving Texture Challenges
Texture is key to a great ice cream experience. Here are some common texture problems:
- Icy crystals forming due to improper mixing
- Too-hard or too-soft consistency
- Grainy or uneven texture
Addressing Freezing Concerns
Freezing your ice cream right is important for a smooth texture. Here are some tips:
- Use an insulated container for storage
- Press wax paper directly on the ice cream surface
- Maintain consistent freezer temperature
Balancing Flavors Perfectly
Getting the flavor right is crucial. Here are some things to consider:
- Adjusting sweetness levels
- Ensuring proper chocolate and peanut butter ratio
- Enhancing overall flavor intensity
Pro tip: Always taste your mixture before freezing and make adjustments as needed. A well-balanced ice cream can turn an ordinary dessert into an extraordinary culinary experience.
Recipe Variations and Dietary Adaptations
Turning your chocolate peanut butter ice cream into a unique treat is easy. It lets you get creative in the kitchen. You can make it fit your dietary needs or just try something new.
Looking for dairy-free options? Here are some great swaps:
- Replace heavy cream with full-fat coconut milk
- Use almond or oat milk as a base
- Substitute traditional peanut butter with cashew or sunflower seed butter
Vegans can make their own version by:
- Using coconut cream instead of dairy cream
- Selecting plant-based chocolate
- Incorporating aquafaba for additional creaminess
Want to make your ice cream even better? Try these mix-ins:
- Crushed chocolate cookies
- Chopped Reese’s pieces
- Caramel drizzle
- Roasted nuts
Need to cut down on sugar? Try using stevia or monk fruit sweetener. The goal is to keep it creamy and rich, but fit your diet.
Nutritional Information and Serving Size
This chocolate peanut butter ice cream is both tasty and thoughtful. A single scoop gives you a good mix of nutrients. It’s a creamy dessert that might surprise you with its balanced nutrition.
| Nutrient | Amount per Serving |
|---|---|
| Calories | 214 kcal |
| Carbohydrates | 18g |
| Protein | 6g |
| Fat | 15g |
| Sugar | 16g |
Knowing how much to eat is important with this ice cream. A serving is about 1/2 cup or one scoop. This way, you can enjoy the flavors without overdoing it.
- Recommended serving: 1/2 cup
- Perfect for dessert or a small treat
- Provides essential nutrients
The nutritional facts are quite interesting. With 6 grams of protein and not too many calories, it’s a better choice than some store-bought ice creams. The mix of chocolate and peanut butter is both tasty and nutritious.
Pro tip: Enjoy your chocolate peanut butter ice cream in moderation as part of a balanced diet.
Conclusion
Making no-churn chocolate peanut butter ice cream is more than a recipe. It’s a chance to turn your kitchen into a gourmet paradise. You’ve discovered how simple ingredients and basic steps can make a rich, indulgent treat.
Every step of this recipe lets you make a creamy, rich dessert without fancy tools. You can get creative, adding your favorite flavors and mix-ins. This way, you can make a dessert that’s uniquely yours.
Homemade ice cream is all about having fun and expressing yourself. Whether it’s for a family event, a special day, or just for yourself, your ice cream is a delicious success. Enjoy the process, share your creations, and keep exploring the world of frozen treats.
Your ice cream journey is just starting. With time, you’ll get better at making amazing treats that will wow everyone. So, dive in, have fun, and enjoy every bite of your culinary adventure.
FAQ
Can I make this no-churn chocolate peanut butter ice cream without an ice cream maker?
How long does it take to prepare this ice cream?
Can I substitute ingredients if I have dietary restrictions?
How long can I store homemade no-churn ice cream?
What if my ice cream becomes too hard in the freezer?
Can I add extra mix-ins to the recipe?
Is this recipe kid-friendly?
How can I prevent ice crystals from forming?
There are no reviews yet. Be the first one to write one.


