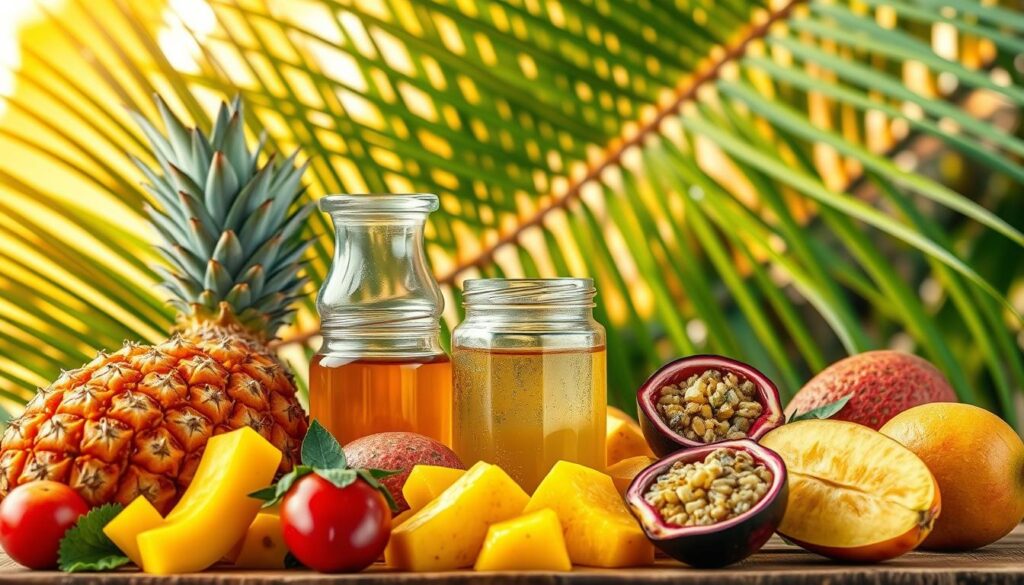
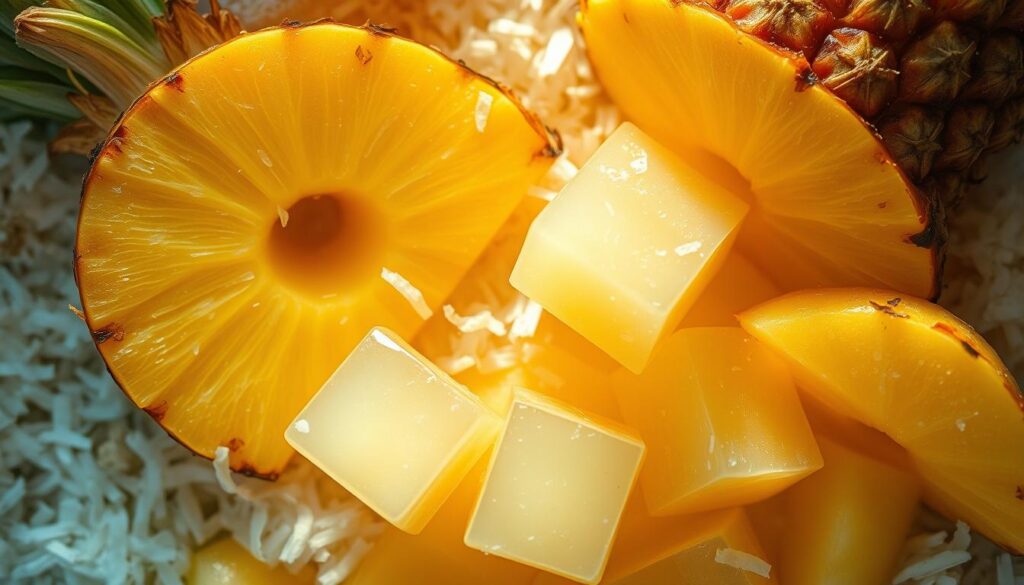
Summer memories come alive when I cut into a vibrant homemade jelly. The golden pineapple and creamy coconut mix, creating a tropical flavor. It feels like a sun-drenched beach with every spoonful.
Making your own pineapple jelly with pectin is more than cooking. It’s about creating an experience that brings exotic flavors to your table. It’s a way to connect with the world’s tastes.
Creating homemade jelly might seem hard, but it’s actually easy. With the right techniques and a bit of passion, you can turn fresh pineapples into a delicious spread. This recipe will help you every step of the way, whether you’re experienced or just starting out.
Picture this: spreading a vibrant, glossy jelly on warm toast. Each bite is full of pure, intense fruit flavor. Mastering this pineapple-coconut jelly recipe opens up a world of culinary creativity. You’ll impress your family and friends with a unique homemade treat.
Understanding the Basics of Tropical Fruit Jellies
Making tasty tropical fruit jellies needs a good grasp of key ingredients and methods. Jelly making is a mix of science and art. Fruit pectin is key for the right consistency and taste.

Starting with jelly making means knowing the basic parts for a great spread. You need to mix ingredients well. This ensures a smooth, bright jelly that really shows off tropical fruits.
Key Ingredients for Perfect Set
To make great tropical fruit jellies, focus on a few important things:
- Fresh, ripe tropical fruits
- High-quality pectin powder
- Sugar for sweetness and preservation
- Acid to help with setting
Benefits of Using Pectin
Pectin is a big help in jelly making. This natural ingredient makes your jelly gel-like. Using fruit pectin gives you:
- Better texture and spreadability
- Better fruit flavor preservation
- Less cooking time
- More consistent results
Types of Pectin Available
There are many pectin powders out there, each with its own traits. Some common ones are:
- High-methoxyl pectin: Best for traditional jam and jelly recipes
- Low-methoxyl pectin: Great for low-sugar or sugar-free recipes
- Liquid pectin: Easy to mix quickly
Choosing the right pectin can really change your tropical fruit jelly’s texture and taste. Try different types to find what works best for you.
Essential Equipment and Tools for Jelly Making
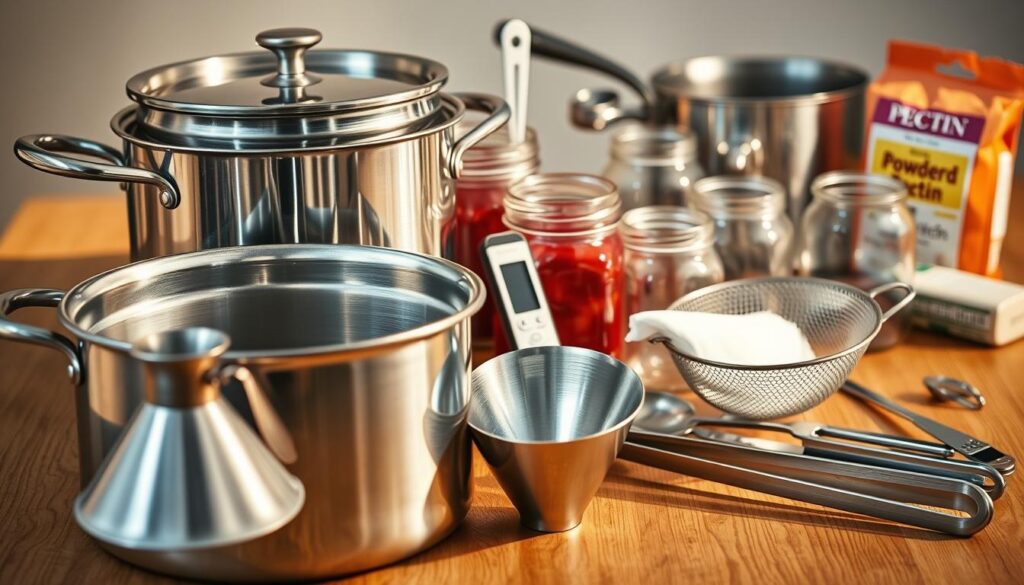
When you start making jelly, having the right tools is key. The right equipment can turn a simple jelly-making process into a success. You’ll need the essential tools to make delicious pineapple-coconut jelly.

- Large Stainless Steel Pot: A heavy-bottomed pot prevents scorching and ensures even heat distribution
- Candy or Digital Thermometer: Precise temperature control is crucial for setting jelly
- Canning Jars with Tight-Fitting Lids: Essential for storing your homemade jelly
- Jar Tongs: Safely handle hot jars during the canning process
- Ladle and Funnel: Help transfer hot jelly into jars without messy spills
Professional jelly makers know that quality tools are investments. Stainless steel utensils are best for canning because they don’t react with acidic fruit juices. A good digital thermometer ensures the perfect jelly consistency every time.
Invest in heat-resistant gloves and a clean workspace for a safe and fun jelly-making experience. The right equipment makes home cooking simple and enjoyable.
Selecting and Preparing Fresh Pineapples for Jelly
Starting your pineapple jelly recipe with pectin means picking the best fruit. Success in canning pineapple comes from choosing top-quality pineapples. They should offer the best taste and natural pectin.

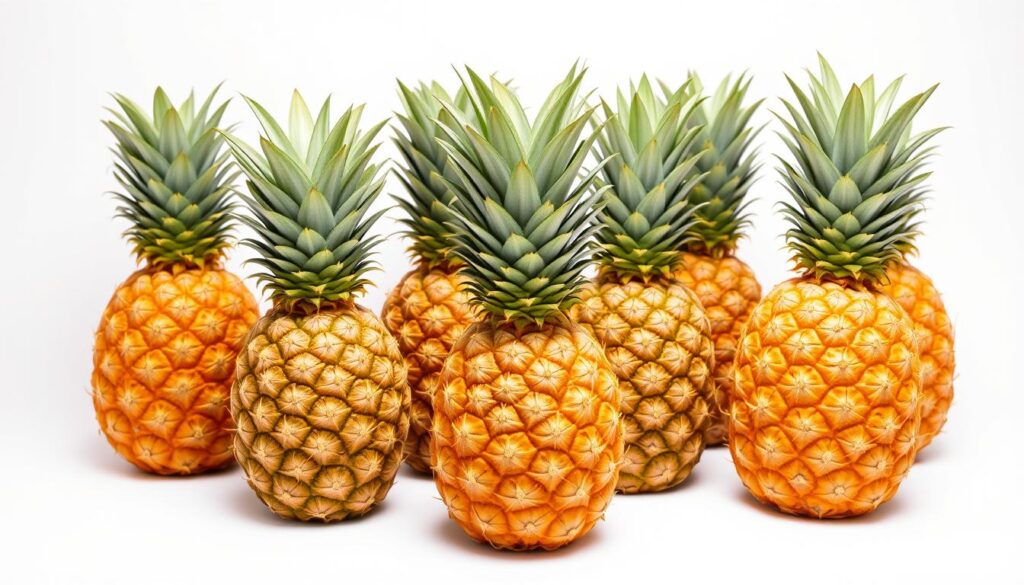
Finding the right pineapple is an art. A ripe pineapple should be golden-yellow and smell sweet. It should feel slightly soft when you press it, but not mushy.
Identifying Peak Ripeness
- Look for uniform golden-yellow color
- Check for a sweet, strong fragrance
- Feel for slight softness when pressed
- Avoid pineapples with dark brown spots or mold
Expert Cutting Techniques
To get the most pectin from your pineapple jelly, use these cutting tips:
- Slice off the top and bottom of the pineapple
- Stand the fruit upright and carefully remove the outer skin
- Remove any remaining “eyes” with a small paring knife
- Cut around the core to extract maximum juice
Juice Extraction Methods
For the best juice during canning, try these methods:
- Manual Pressing: Use a citrus press or hand juicer
- Blender Method: Pulse chunks to release juice
- Strainer Technique: Press pulp through fine-mesh strainer
Pro tip: Fresh pineapples at room temperature give more juice than cold ones. Use your pineapples within 2-3 days for the best jelly.
Coconut Milk Selection and Preparation Tips
Choosing the right coconut milk is key to making delicious homemade jelly. Not all coconut milk is the same. Knowing the differences can make your jelly-making experience better.
When picking coconut milk, look for a few important things:
- Fat content (full-fat varieties work best for a rich texture)
- Minimal additives or preservatives
- Fresh or high-quality canned options
Choose coconut milk with a high cream layer for better texture in your jelly. Avoid low-fat or watery versions that might compromise your fruit spreads’ texture.
How you prepare coconut milk is also important:
- Gently warm the coconut milk to room temperature
- Stir thoroughly to combine separated cream and liquid
- Strain if any solid particles are present
- Measure precisely for consistent results
Experts say to use full-fat, organic coconut milk for the best flavor and texture in your homemade jelly.
Pineapple Jelly Recipe Pectin: Step-by-Step Guide
Making perfect pineapple jelly needs precision and knowing how to use fruit pectin. This guide will show you how to make a tasty tropical treat every time.
To make your pineapple jelly, you need to measure everything carefully and use special techniques. The right steps can turn fresh pineapple into a yummy spread that brings out the fruit’s bright flavors.
Measuring Ingredients Precisely
Getting the measurements right is key in jelly making. Here’s what to do for the best results:
- Measure fresh pineapple juice exactly
- Use a kitchen scale for precise pectin quantities
- Follow recipe measurements carefully
Temperature Control Techniques
| Jelly Stage | Temperature Range | Key Considerations |
|---|---|---|
| Initial Heating | 220-225°F | Activate fruit pectin |
| Setting Point | 217-220°F | Check jelly consistency |
Setting Time Fundamentals
Your pineapple jelly needs the right setting conditions. Patience is key for the perfect consistency. Jelly usually takes 12-24 hours to set at room temperature.
- Cool jelly at room temperature
- Avoid moving jars during setting
- Check consistency after 12 hours
Professional jelly makers know that understanding fruit pectin is crucial. It makes a smooth, spreadable preserve that captures fresh pineapple’s essence.
Troubleshooting Common Setting Issues
Making the perfect pineapple-coconut jelly can be tough. It needs precision, like when using pectin powder. Even experienced cooks face common setting problems.
Let’s look at the most common issues you might face:
- Runny Jelly: This can happen if you use too little pectin or if the mix isn’t hot enough
- Overly Firm Jelly: Too much pectin can make the jelly feel rubbery
- Crystallization: Sugar can separate if the jelly isn’t cooked right
To fix these problems, follow these expert tips:
- Measure pectin powder carefully
- Use a candy thermometer to check the temperature
- Know how much natural pectin your fruit has
- Adjust the sugar amount with care
Pro tip: Always test your jelly’s set by putting a small amount on a cold plate. If it wrinkles, it’s set. Remember, practice makes perfect!
The key to excellent jelly is patience and attention to detail.
Storage and Preservation Methods
Keeping your homemade pineapple-coconut jelly fresh is key. Canning pineapple preserves needs careful steps to keep it safe and tasty.
Knowing how to preserve your homemade pineapple preserves is important. Here are some tips to keep your jelly fresh:
- Use sterilized glass jars with tight-fitting lids
- Ensure complete seal to prevent contamination
- Store in a cool, dark place away from direct sunlight
Proper Canning Techniques
Follow these steps for successful canning:
- Wash jars and lids in hot, soapy water
- Sterilize jars by boiling for 10 minutes
- Fill jars leaving 1/4 inch headspace
- Wipe jar rims clean before sealing
- Process in a water bath for recommended time
Shelf Life Guidelines
Your pineapple preserves can last up to 18 months if stored right. Pro tip: Always label jars with the date of preparation to track freshness.
“The key to long-lasting preserves is proper sealing and storage” – Preservation Experts
For the best taste, use within 12 months. Check seals often and throw away jars with mold, bad smells, or broken seals.
Creative Serving Suggestions and Pairings
Your homemade pineapple jam can take your meals to the next level. It adds a burst of tropical flavor to any dish. This makes even simple meals into something special.
Here are some fun ways to use your pineapple jam:
- Breakfast Innovations
- Swirl into Greek yogurt
- Top pancakes or waffles
- Mix into overnight oats
- Savory Pairings
- Glaze for grilled chicken
- Marinade for pork tenderloin
- Complement to cheese boards
- Dessert Transformations
- Filling for pastry tarts
- Layer in cheesecakes
- Topping for vanilla ice cream
Try these ideas to make your pineapple jam more than just a spread. It becomes a key ingredient in your cooking. Your taste buds will love the journey!
Pro tip: Always serve pineapple jam at room temperature to maximize its vibrant flavor profile.
Health Benefits and Nutritional Information
Pineapple preserves and fruit spreads are not just tasty. They are also packed with nutrients. Making your own pineapple-coconut jelly can be a healthy choice for your diet.
Pineapples are full of vitamins and minerals. When turned into preserves, they keep many of these health benefits.
Vitamin Content Breakdown
- Vitamin C: Boosts immune system function
- Manganese: Supports bone health and metabolism
- Vitamin B1: Enhances energy production
- Bromelain: Natural enzyme with anti-inflammatory properties
Dietary Considerations
When making fruit spreads, watch the sugar content. Use low-sugar pectin or natural sweeteners for a healthier jelly.
“Moderation is key in enjoying these delightful tropical preserves.” – Nutrition Expert
Your homemade pineapple-coconut jelly is a great choice over store-bought ones. It lets you control what goes into it.
Variations and Flavor Enhancements
Making unique pineapple jam is all about being creative and trying new things. Your homemade jelly can go from a simple spread to a gourmet treat. This happens when you mix in some exciting flavors.
Spice lovers will love adding unexpected ingredients to their pineapple jam. Here are some cool variations:
- Ginger-infused pineapple jelly for a zesty kick
- Cinnamon-spiced tropical homemade jelly
- Chili-pepper pineapple jam for heat enthusiasts
Pairing your pineapple jam with other fruits can really boost its flavor. Try mixing it with other tropical fruits:
- Mango for sweetness and depth
- Passion fruit for tangy undertones
- Papaya for smooth, mellow notes
If you’re watching your sugar intake, there are healthier options. You can use low-sugar or sugar-free sweeteners. Try stevia, monk fruit extract, or reduced sugar pectin for a lighter jam.
Pro tip: Always taste and adjust your flavor combinations gradually to achieve the perfect balance.
Your pineapple jam can be a blank canvas for your creativity. Start simple and add more complexity with each batch you make.
Tips for Achieving Perfect Consistency
Mastering jelly making is all about precision and knowing how fruit pectin works with other ingredients. Your success depends on several key factors. These factors affect the texture and set of your homemade jelly.
Temperature is crucial when working with fruit pectin. You need to watch these important points:
- Monitor cooking temperature carefully
- Understand your fruit’s natural pectin levels
- Use precise measuring techniques
- Test for gel point accurately
The gel point test is your secret to perfect jelly. To do this test, put a small amount of hot jelly on a chilled plate. If it wrinkles and leaves a clear path when you run your finger through it, you’ve got it right.
Different fruits need different approaches. Pineapple and tropical fruits often need extra pectin to set right. Here are some pro tips:
- Add commercial pectin for more reliable setting
- Adjust sugar content to enhance gel formation
- Cook at a steady, controlled temperature
- Allow proper cooling time for optimal set
Your jelly’s consistency comes from balancing acidity, sugar, and pectin levels. Try small batches to find your best jelly making technique.
Conclusion
Making a delicious pineapple jelly recipe with pectin is more than just cooking. It’s a chance to create something special in your kitchen. Your homemade jelly is a mix of fresh ingredients, skill, and creativity. It’s something store-bought can’t match.
As you try making homemade jelly, remember that practice is key. Each batch of pineapple jelly teaches you something new. You learn about balancing flavors, pectin’s role, and getting the right consistency. Don’t be afraid to try new things or add your own twist to the recipe.
Sharing your homemade pineapple-coconut jelly with friends and family is a joy. By choosing your ingredients and understanding the process, you’re not just making a spread. You’re creating a culinary experience that connects tradition with your own creativity. Enjoy the journey, the process, and every delicious spoonful of your homemade jelly.
Your skills in making pineapple jelly with pectin will become a treasured skill. It will open doors to endless flavor possibilities and culinary adventures in your kitchen.
FAQ
What type of pectin is best for making pineapple-coconut jelly?
How long will homemade pineapple-coconut jelly last?
Can I make this jelly with less sugar?
How do I know if my jelly has reached the right consistency?
Can I use fresh or canned pineapple for the jelly?
What are some common mistakes to avoid when making fruit jelly?
Can I freeze pineapple-coconut jelly instead of canning?
Are there any alternatives to pectin for setting the jelly?
How can I make my jelly more interesting?
Is homemade jelly healthier than store-bought?
There are no reviews yet. Be the first one to write one.


